Showing posts with label project. Show all posts

Thursday, August 23, 2007

DIY: Jewelry Screen Project

This Wednesday's project is super easy, and super useful! How many of us gals have piles of earrings laying around - in a drawer or on a dresser, all tangled up? I wanted to make something pretty to hang my earrings on, and this Jewelry Screen is what I came up with!

Difficulty Level: 3 out of 5

Estimated Cost: $20 - assuming you have some of the basics on hand

Materials:

  • Picture Mat that fits frame
  • Wire Screen (usually sold as repair item for a screen window or door)
  • Foam Core
  • Hot Glue Gun & Glue Sticks
  • Craft Scissors and X-acto Knife or Rotary Cutter
  • Ruler
  • Optional: Paint and Brushes to decorate Picture Mat
  • Optional: Paper for background

Step One: Preparing the Frame

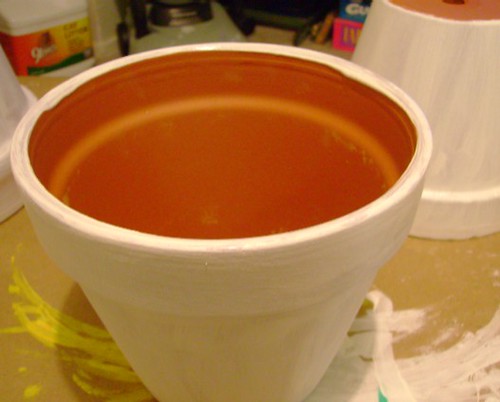
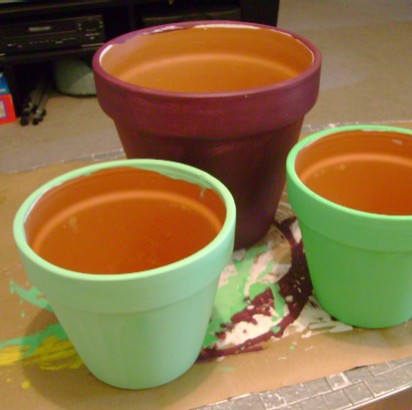
Take the frame back off and set aside, make sure to attach the hanging wire, if necessary. Discard or reuse the glass for the frame. Now you can decide if you want to paint or decorate the mat - you can buy them in colors, but many frames will come with a plain mat. I chose to paint mine a pretty coral color with acrylic paint - you could decoupage it, stamp it, glue fabric on it - the sky is the limit!

Step One - Painting the Mat

Step Two: Preparing the Screen

Roll the screen out, and hold it flat with some heavy objects. Place the back of the frame on top, and cut the screen to the same size with your craft scissors. The screen's edges can get sharp, so be careful.

Step 2 a - The ScreenStep Two - Cutting the Screen


Step Three: Preparing the Foam Core

(get your pet to help!)

You will need 4 pieces of foam core. Use your ruler to measure the width and length of the long side of the mat - cut 2 of this size. Then, lay those two pieces on the mat, and you will have a space left for a top and bottom piece. Measure and cut these 2 pieces. The best way to cut Foam Core is with an X-acto Knife or Rotary Cutter, using a ruler as a straight edge. *The pieces of foam core are more clearly shown in the next photo...

My Cat Sheba - helping out!


Step Four: Assemble the Mat, Screen, and Foam Core

First, plug in the hot glue gun! Lay the mat decorated side down, then lay the screen on top and hold it in place with a heavy object in the middle. Squirt hot glue onto one of the long sides of the mat, and press the foam core on top. Repeat for the other long side, then do the top and the bottom. This will hold the screen in place, and give you necessary space between the screen and the frame back to hang your earrings.

Step Four - Assembly


Step Five: Finish the Project!

Place the Mat, Screen and Foam Core "unit" face down into your frame. This is where you decide whether you need a background color or pattern. If you do - place it down first, and then put the back of the frame on. Close it all up, and hang it!

Step Five - Finished Project


I am new at writing these tutorials - so please send me your feedback! Was this easy to follow? Was my "level rating" on target? Send me pictures if you create one!


My iTaggit Profile

Thursday, August 16, 2007

DIY Project - Painted Pots!

Ok friends - this is my very first attempt at writing a DIY Project blog! I have been crafting for almost all of my 28 years - and I am ready to start sharing some of my fun projects with you.

This Spring & Summer have been all about the pots and plants. I decided to start container gardening, and being the crafty gal I am - I just had to have handpainted pots! So here we go on the tutorial:


Supplies:


  • Terra Cotta Pot(s)

  • Acrylic Paints - Basic white for base coat & pretty colors for fun

  • Brushes - Sponge Brushes are easy and cheap

  • Polyurethane for sealing

  • Drop Cloth or Newspaper to protect your work surface

  • Wax paper or something to squirt out your paint on

The Process:


Step One: Start with a clean, dry pot - mine were all new - but it doesn't hurt to rinse them off. Paint the pot with two base coats - I used Acrylic Gesso - but you can use Spray Paint too.


Step Two: Paint the pot a pretty color! Acrylic paints are inexpensive and readily availbe at Craft and Hobby Stores. You can judge if you need one or two coats depending on the quality of paint.


Step Three: Paint designs! I tried to keep things simple and just painted freehand. If you're a beginner, try drawing your designs on the pot with a pencil and then painting over them. A Q-Tip works great for little dots...


Optional: Try Decoupage! Such a fancy word for an easy technique - cut out shapes from Fashion Magazines and glue them on with White Glue or ModgePodge. After many months of rain - my Decoupaged pots aren't holding up as well - but they're still cute!

Step Four: After the paint is all dry - spray the pots with 2 coats of Polyurethane Spray. Do this OUTSIDE and follow the instructions on the product. It helps to coat the inside of the pot too, as terra cotta is very pourous.


Enjoy your Pots! Check out more of my crafts and additional pot pictures in my iTaggit Crafts Collection. I would love to see your crafty projects posted on iTaggit for all to see!